This review will provide details how to insert a peripheral IV.
IV insertion is a vital skill nurses must learn in order to provide patient care. IV (intravenous) lines are used to administer medications, fluids, and blood products.
Steps on How to Insert an IV
1. First, gather supplies and perform hand hygiene.
- IV starter kit
- Extension set
- IV catheter
- Saline Flush
- Curos cap
- Gloves

2. Next, prepare the supplies.
- Opening packages
- Prime saline flush and remove air bubble
- Flush extension set with saline flush
- Rotate IV catheter and reseat (if recommended by manufacturer)
- Prep any labeling
- and other prep as designated by your facility.
3. Then determine what vein you will be using for the IV insertion.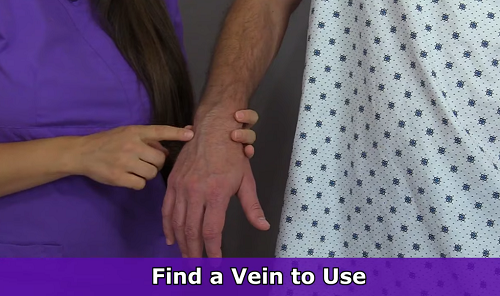
5. When all the steps above are complete, perform hand hygiene again, and don gloves.
6. Place the tourniquet on the patient’s arm.
7. Clean the IV insertion site thoroughly with Chloraprep. UPDATE: Newer guidelines recommend using a back-and-forth friction scrub for cleansing prior to insertion, rather than an inside-to-outside circular motion. Clean for 30 seconds and let the site completely dry.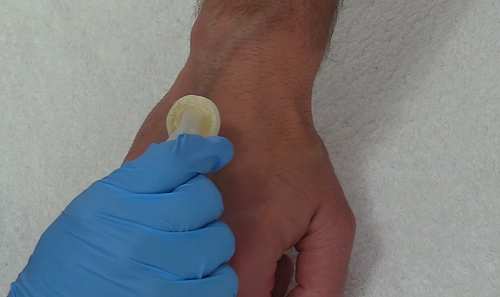
8. Stabilize the vein with your non-dominant hand by slightly pulling the skin taunt below the insertion site, taking care not to touch the area you just cleaned.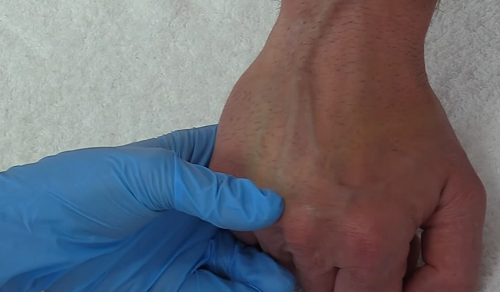
9. Hold the IV catheter at its base with your thumb and index finger with the bevel of the needle up in your dominant hand.
10. Tell the patient to prepare for a sharp sting and insert the needle in the vein at about a 20 degree angle.
11. Watch for a flash of blood that will begin in the cannula and progress to the IV catheter’s chamber. This tells you that you’re in the vein.
12. Next, slightly (about 2 mm) advance the needle into the vein some more. Then thread the cannula into the vein by sliding it off the IV needle. It should thread (or advance) into the vein with ease.
13. Take your non-dominant hand’s index finger and apply pressure above the insertion site to occlude the IV. This prevents blood from leaking out of the IV catheter. 14. Remove the tourniquet.
15. Attach the extension set onto the IV cannula’s hub by twisting it on securely.
16. Aspirate for blood return from the IV site with the syringe of the saline flush. This demonstrates the IV is in the vein.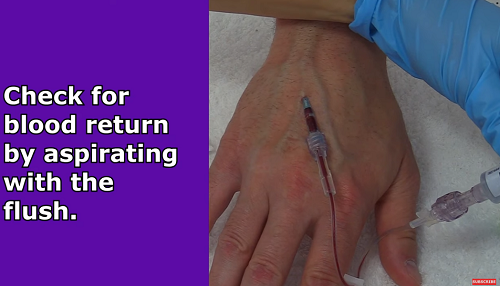
17. Then flush the IV site with saline (3-5 mL) using a push-pause flushing technique. For example, you will push in 1-2 mL of saline and pause, and then repeat until the desired amount is flushed in. This creates a turbulence within the cannula and helps clear the line of any blood that may be present in the cannula.
- Note any swelling at the site or pain reported by the patient…this could indicate the IV is not in the vein.
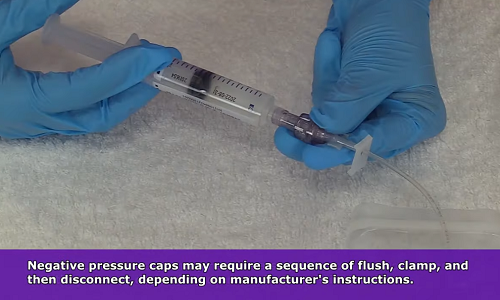
18. Then clamp and disconnect the syringe. NOTE: The clamping and syringe disconnection sequence varies depending on the type of cap that is used on the extension set. Follow your hospital’s protocol and the manufacturer’s guidelines for the clamping sequence. Examples of clamping sequences:
- Neutral displacement cap: usually no clamping sequence is required, you can simply flush, clamp, disconnect syringe etc.

- Positive displacement cap: flush with saline, disconnect the syringe, and then clamp

- Negative displacement cap: flush with saline, clamp, and then disconnect the syringe
19. Secure the site with the dressing provided in the IV starter kit (please see the video above for complete details). Label the site, if required. Then secure a Curos Cap on the extension set’s cap. This helps protect the site from infection.
20. Dispose of supplies per protocol, doff gloves, perform hand hygiene, and then document.
You may be interested in more Nursing Skills.